


This homemade Creamed Corn recipe turns fresh or frozen sweet corn into a creamy side dish with milk, reduced-fat cream cheese, and a little butter. No heavy cream or flour needed!

Creamy Corn Without Heavy Cream
I love a creamy side dish that still lets the vegetables shine. For this creamed corn, I blend some of the kernels with milk and cream cheese, then stir that mixture into the remaining corn. It gives the sauce plenty of sweet corn flavor while leaving lots of whole kernels for texture. Onion, garlic, and a little butter balance the sweetness, so there’s no need for added sugar. Serve it with a weeknight dinner or add it to your Thanksgiving table. If you love corn sides, try my Corn Casserole, too.
Why This Creamed Corn Recipe Works

- Healthier than canned: This recipe uses real ingredients
- Creamy without heavy cream: Milk and reduced-fat cream cheese create a creamy sauce with just 2 tablespoons of butter for the whole recipe.
- No flour or cornstarch: So it’s gluten-free. The blended corn gives the sauce body, and a gentle simmer thickens it.
- Fresh or frozen corn: Make it with summer sweet corn or use thawed frozen corn for a holiday side.
- Made on the stovetop: Keep the oven free for your turkey and other holiday dishes.

Ingredients
Here’s everything you need to make this homemade creamed corn. See the recipe card below for exact measurements.
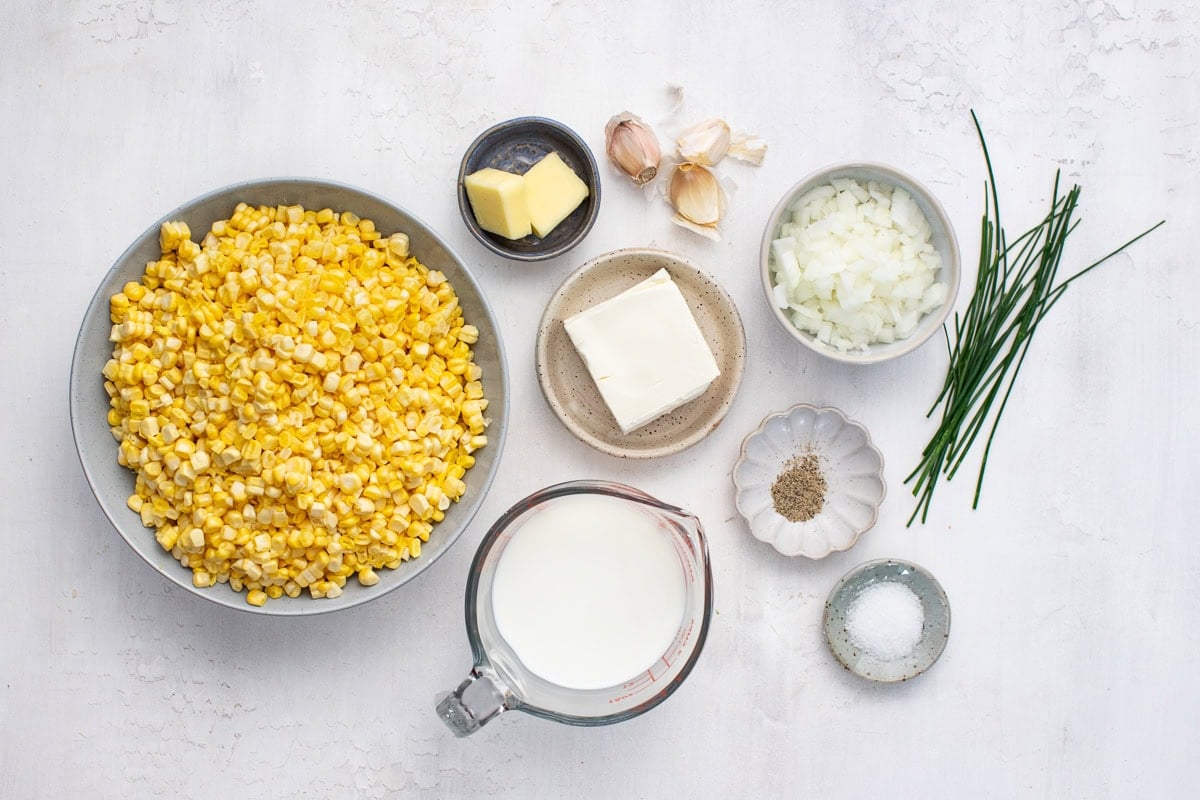
- Sweet yellow corn: Use fresh kernels cut from the cob or frozen corn that has been thawed and drained. You’ll blend some for the sauce and leave the rest whole.
- 2% milk: The liquid base for the creamy corn sauce.
- Reduced-fat cream cheese: Adds richness and a slight tang that balances the sweet corn.
- Kosher salt: Season both the blended sauce and the onion, then taste again before serving.
- Unsalted butter: For cooking the onion and garlic.
- Yellow onion: Finely chop it so it softens into the corn.
- Garlic: Adds savory flavor without overpowering the corn.
- Black pepper: A few grinds balance the sweetness.
- Scallion: Sprinkle it over the finished dish for a fresh onion flavor and a little color.
How to Make Creamed Corn
A blender and a large saucepan are all you need. The key is to let the sauce thicken gently rather than turning up the heat. See the recipe card below for the complete, print-friendly recipe.
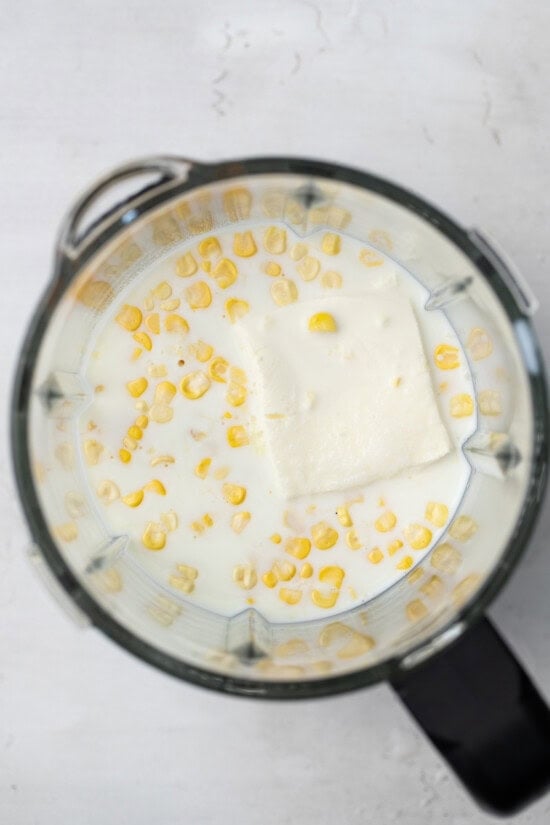
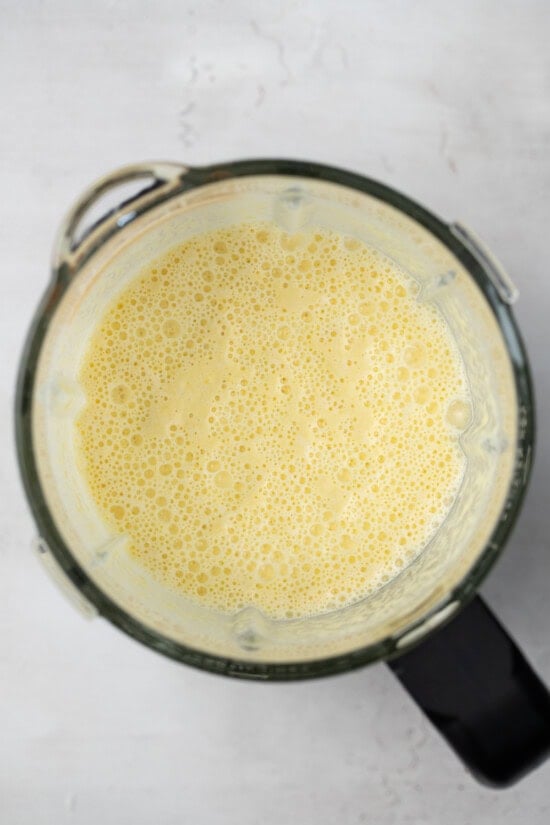
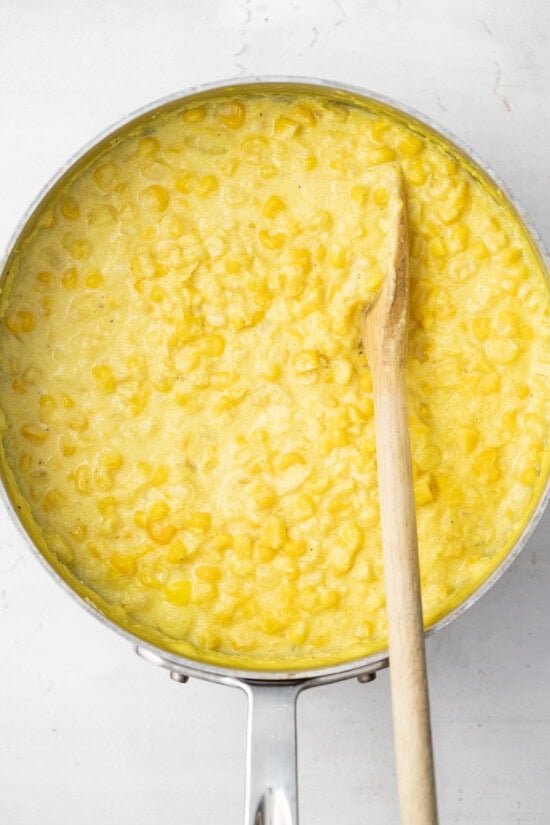
- Blend the corn sauce. Blend 2 cups of corn with the milk, cream cheese, and part of the salt until smooth. Set aside.
- Cook the onion and garlic. Melt the butter over medium heat. Add the onion and remaining salt, and cook for 4 to 5 minutes until tender. Stir in the garlic and cook for another minute.
- Warm the whole kernels. Add the remaining 6 cups of corn and cook for 3 to 4 minutes, stirring occasionally, until hot.
- Add the sauce. Stir in the blended corn mixture and black pepper. Warm slowly, stirring frequently, until it begins to bubble, about 6 to 8 minutes.
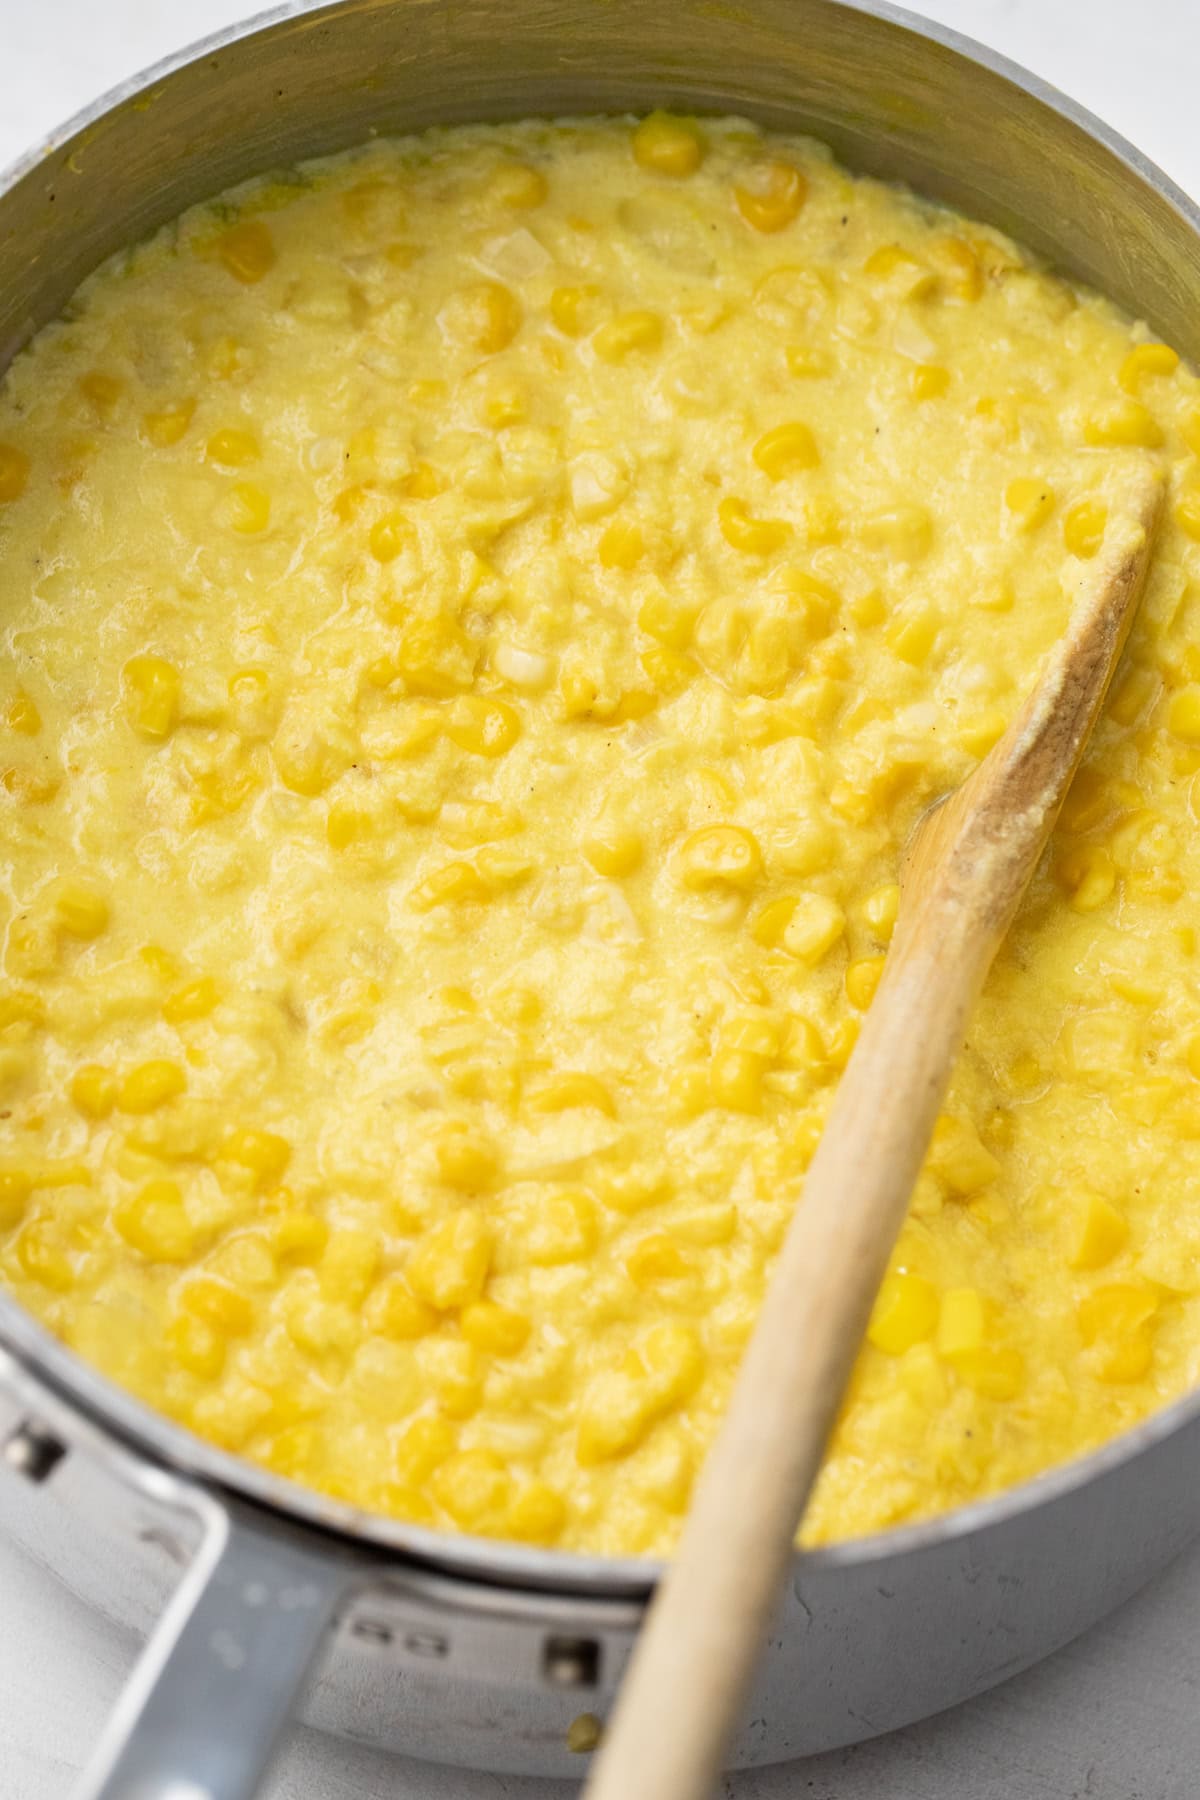
- Simmer until creamy. Maintain a gentle bubble for another 10 to 15 minutes, stirring and scraping the sides frequently, until the sauce reduces slightly and thickens.
- Serve. Transfer to a serving bowl and finish with sliced scallion.
Tips for Creamy Corn
- If using frozen, thaw corn first. Drain any liquid before measuring and cooking so it doesn’t water down the sauce.
- Blend until smooth. A smooth corn mixture coats the whole kernels more evenly.
- Keep the heat gentle. Once the milk mixture goes in, avoid a hard boil. Higher heat can scorch the sauce.
- Stir along the bottom and sides. The sauce thickens as it cooks and can catch on the pan.
- Adjust the consistency at the end. If it’s too thin, give it a little more time at a gentle simmer. If it gets too thick, stir in a splash of milk.
Variations
- Make It Cheesy: For cheesy creamed corn, stir the scallions and 3/4 cup of shredded sharp cheddar cheese into the hot creamed corn, transfer it into a 2-quart baking dish sprayed with avocado oil, then sprinkle with 1/4 cup of additional shredded cheese. Bake in a 375°F oven until the creamed corn is bubbly and the cheese is melted, about 20 minutes. Let rest for 10 minutes, sprinkle with additional sliced scallions (optional), and serve.
- Try fresh herbs: Swap the chives for scallions or fresh thyme.
- Add smoky flavor: Sprinkle a little cooked, crumbled bacon over individual servings.
- Use regular cream cheese: Full-fat cream cheese can replace the reduced-fat cream cheese if that’s what you have.

What to Serve with Creamed Corn
Creamed corn pairs well with roasted chicken, air fryer steak, pork tenderloin, or barbecue. For Thanksgiving, serve it alongside my Dry Brine Turkey and a green vegetable to round out the plate.
Make Ahead and Storage
- Make ahead: Prepare it a day ahead, refrigerate, and reheat gently before serving. Add the chives just before bringing it to the table.
- Refrigerate: Store leftovers in an airtight container in the refrigerator for up to 4 days.
- Reheat: Warm in a saucepan over low heat, stirring frequently. Add a splash of milk as needed to loosen the sauce. You can also microwave individual portions in short intervals, stirring between each.
- Freezing: For the creamiest texture, I recommend refrigerating rather than freezing, since the dairy sauce may separate when thawed.

Creamed Corn

Ingredients
- 8 cups sweet yellow corn kernels, fresh or frozen, about 2 ½ pounds, thawed if frozen
- 1 ½ cups 2%-fat milk
- 4 ounces reduced-fat cream cheese
- 2 teaspoons kosher salt, divided, plus additional to taste
- 2 tablespoons unsalted butter
- ½ small yellow onion, about 4 ounces, finely chopped (about ¾ cup)
- 3 large garlic cloves, minced (about 1 heaping tablespoon)
- Freshly ground black pepper, to taste
- 2 tablespoons chopped chives
Instructions
- In a blender, combine 2 cups of corn, the milk, cream cheese, and 1 ½ teaspoons salt. Blend until smooth then set the corn milk aside.
- In a large saucepan, melt the butter over medium heat. Add the onion, season with the remaining ½ teaspoon of salt, and cook, stirring frequently, until tender, 4 to 5 minutes. If the butter starts to brown before the onion is tender, reduce the heat slightly. Add the garlic and cook, stirring constantly, until tender, about 1 minute. Add the remaining 6 cups of corn and cook until the corn is hot, stirring occasionally, 3 to 4 minutes, if frozen, or 5 minutes if fresh.
- Add the corn milk and a couple grinds of black pepper, stir to combine, and slowly warm the mixture until it starts to bubble, 6 to 8 minutes, stirring frequently. Resist turning up the heat since this might cause the corn milk to scorch.
- Continue to cook, stirring and scraping the sides of the saucepan frequently and adjusting the heat as needed to maintain gently bubbling, until the corn milk has reduced slightly and the mixture is thickened and creamy, 10 to 15 minutes.
- Transfer the creamed corn to a large serving bowl, sprinkle with the chives, and serve.
Last Step:
Please leave a rating and comment letting us know how you liked this recipe! This helps our business to thrive and continue providing free, high-quality recipes for you.Notes
Nutrition
FAQ
Creamed corn is a side dish made with corn kernels in a thick, creamy sauce. In this version, some of the corn is blended with milk and cream cheese to make the sauce, then simmered with the remaining whole kernels.
Fresh or thawed frozen corn is preferred for this recipe. If you try canned whole-kernel corn, drain it well and choose no-salt-added corn so you can control the seasoning. Canned cream- style corn is not a direct substitute for the kernels here.
Yes, this recipe is naturally gluten-free because it doesn’t use flour. Check your packaged ingredients if you’re cooking for someone who needs to avoid gluten.